Please wait...
Adding a new SendGrid delivery server (Web API)
This article will drive you through the steps on creating and validating an SendGrid Web API delivery server.
First of all you have to create an account here https://signup.sendgrid.com/. Once you are done you will need to confirm the email address that you entered in the signup form.
The next step will be to create an API Key. This can be found under the Sendgrid menu Settings->API keys. Then just hit the blue button saying ‘Create API Key’. Remember to copy it somewhere, since Sendgrid will show it only once, immediately after creation.
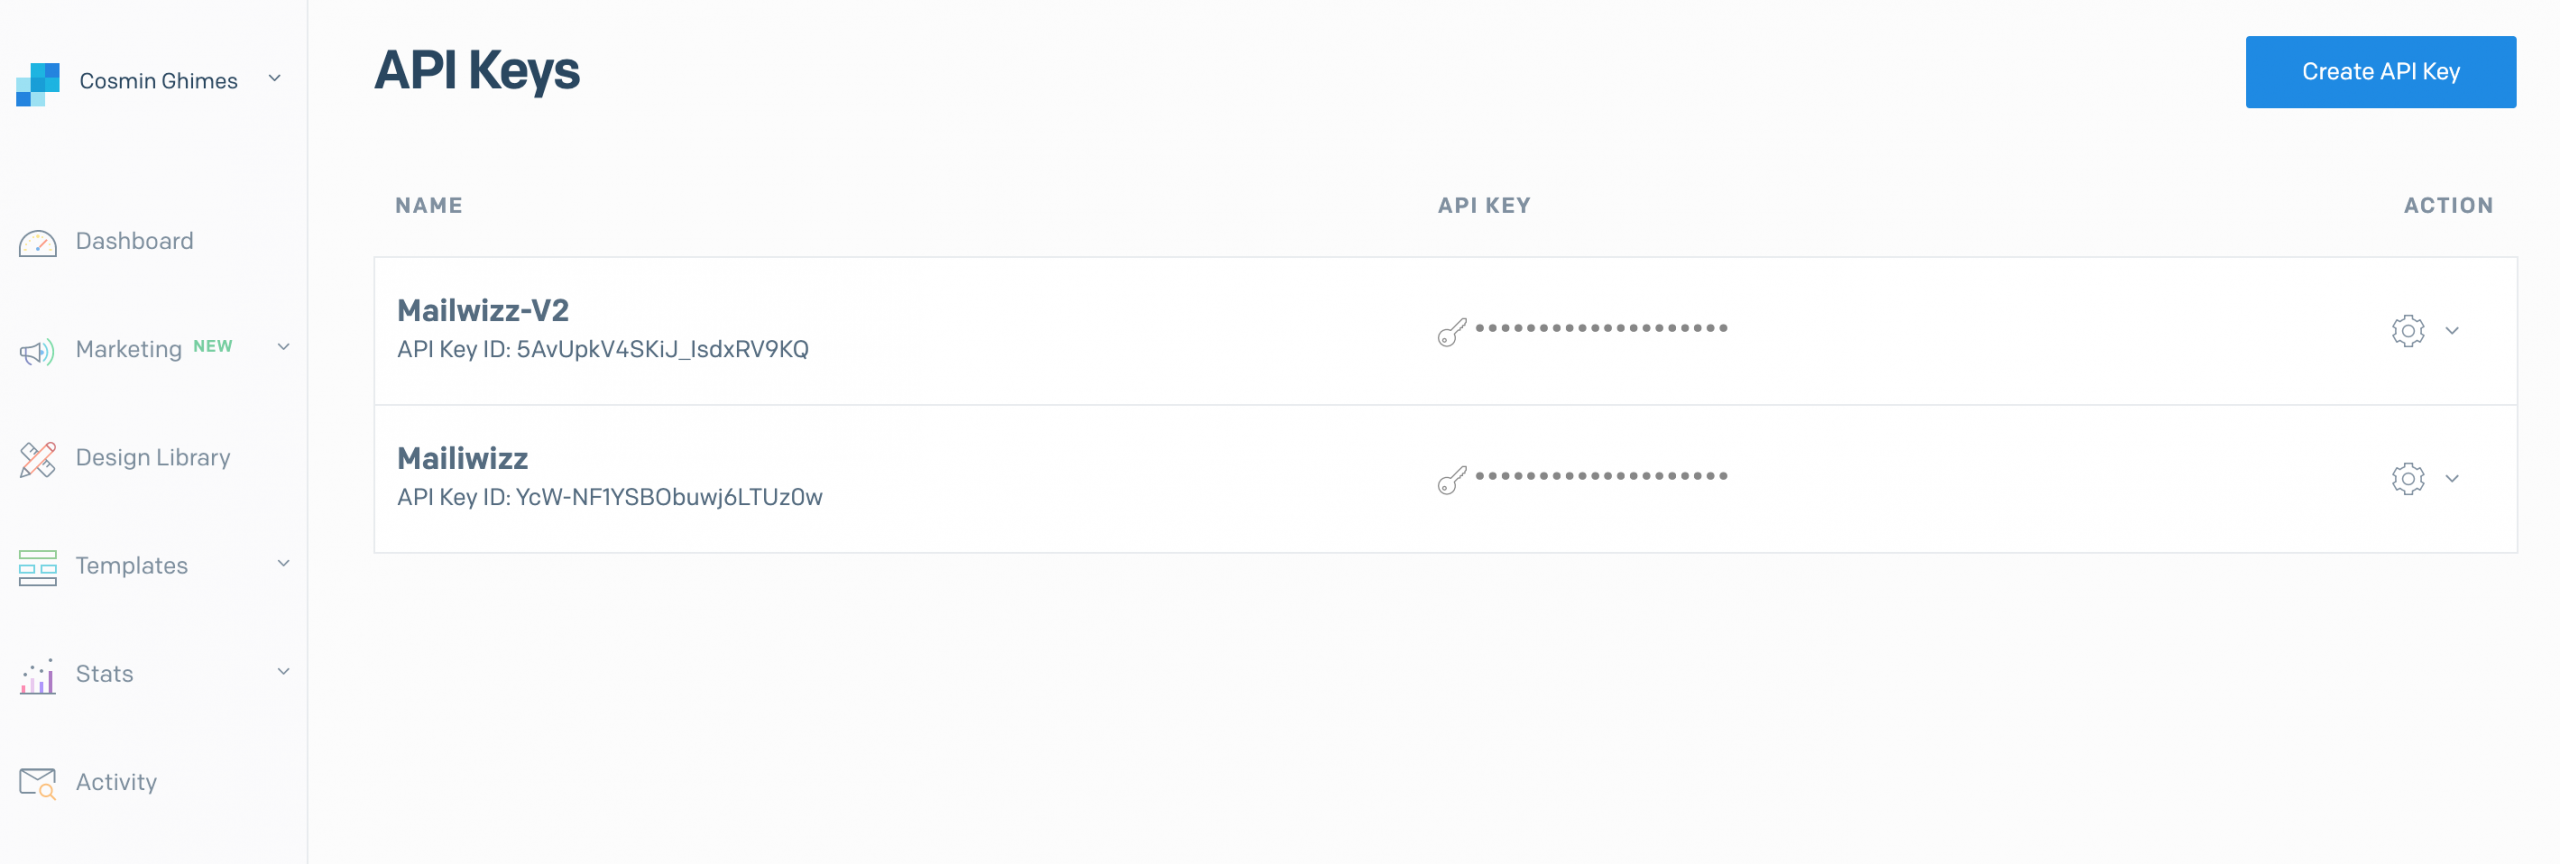
Information that you will need in MailWizz:
- API KEY
- Username (the one you choose at sign up)
At this moment you are ready for the MailWizz setup part:
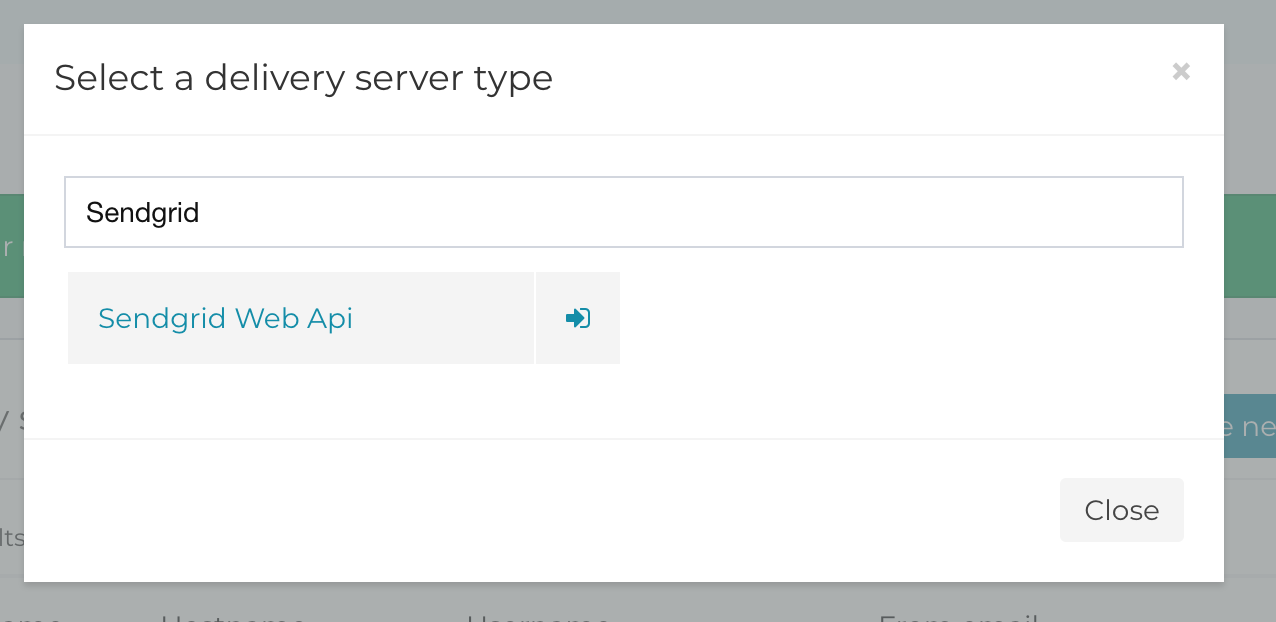
Inside your MailWizz app, navigate to Servers > Delivery Servers page, click create new one and choose the Sendgrid Web Api:
Here you will need to fill in the info that you noted from the Sendgrid setup steps:
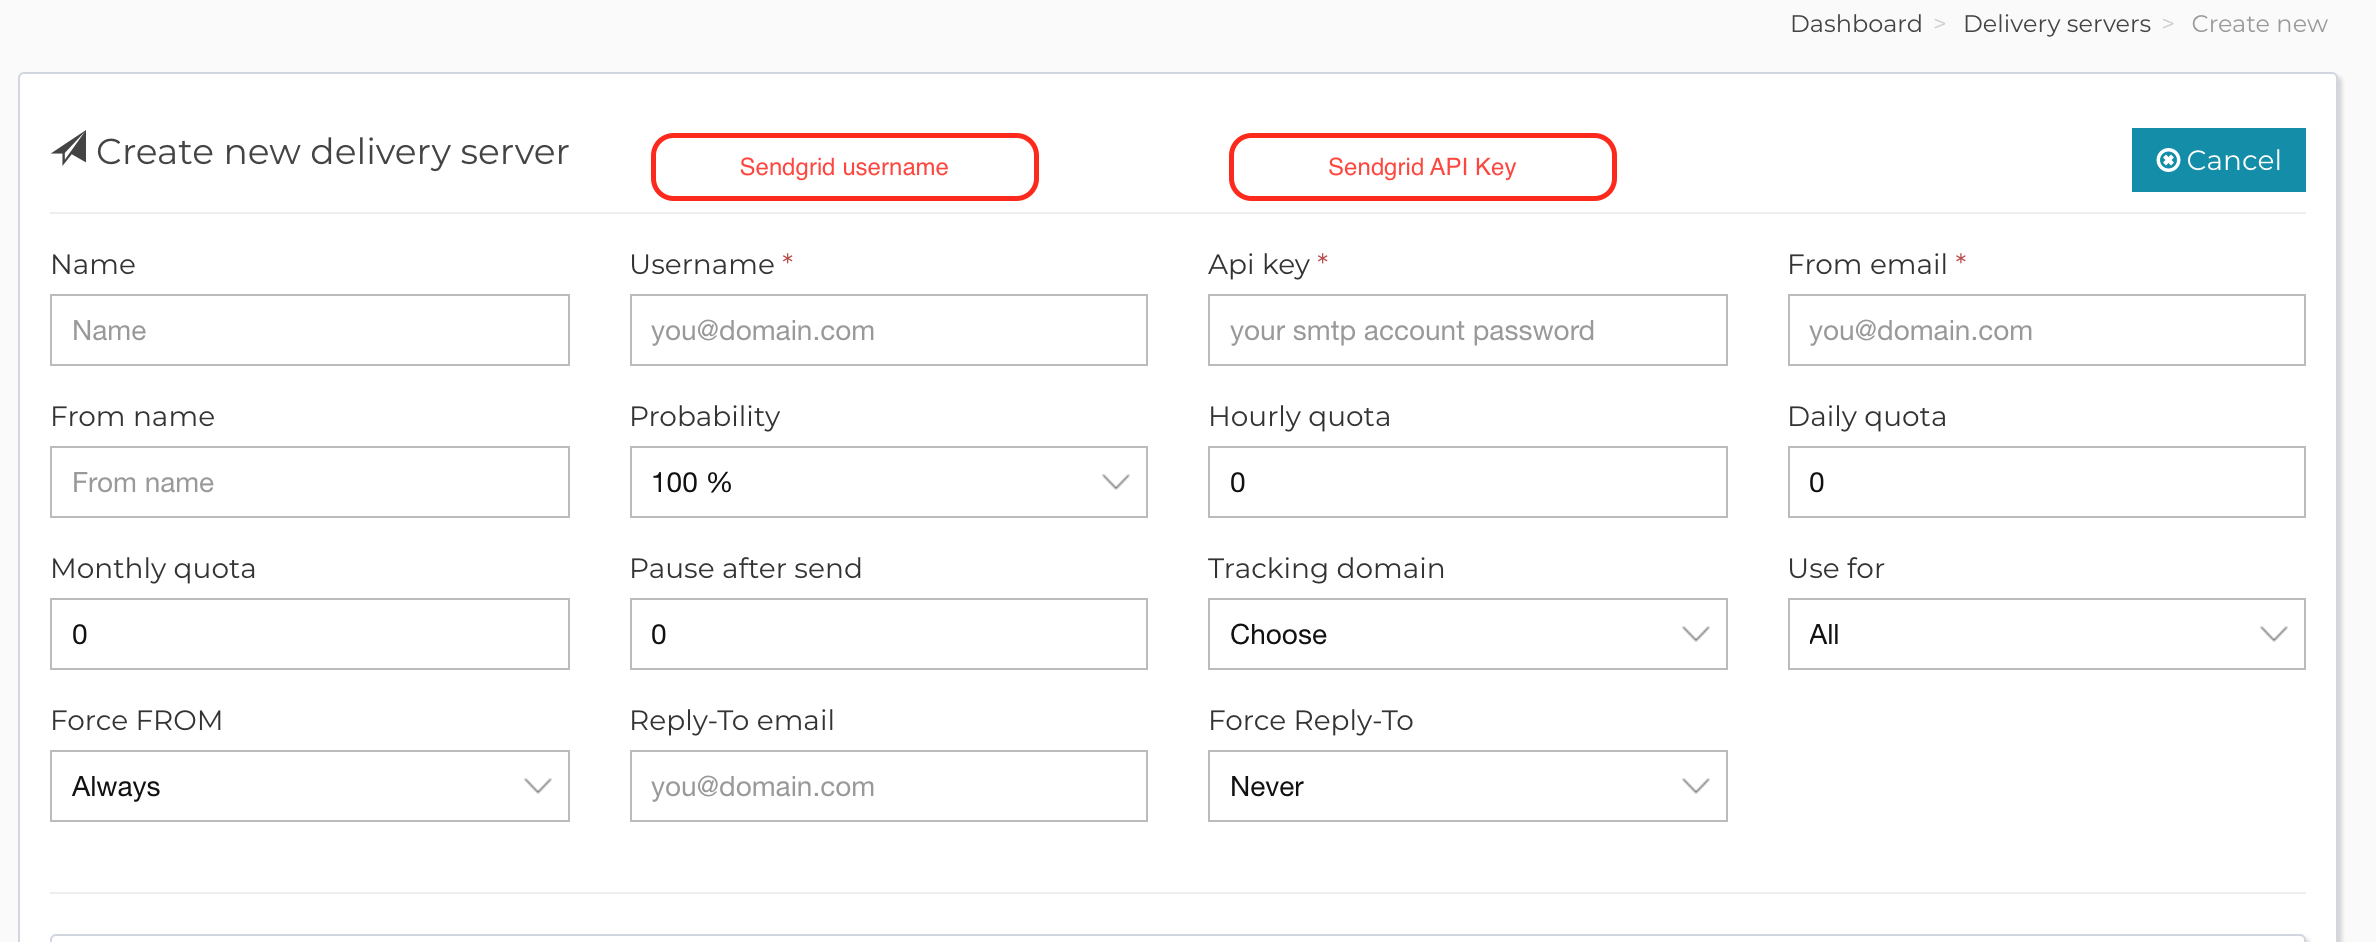
Save the form and then you will need to verify your server. In the verification step you should enter a valid email address where you will receive an email containing the verification link.
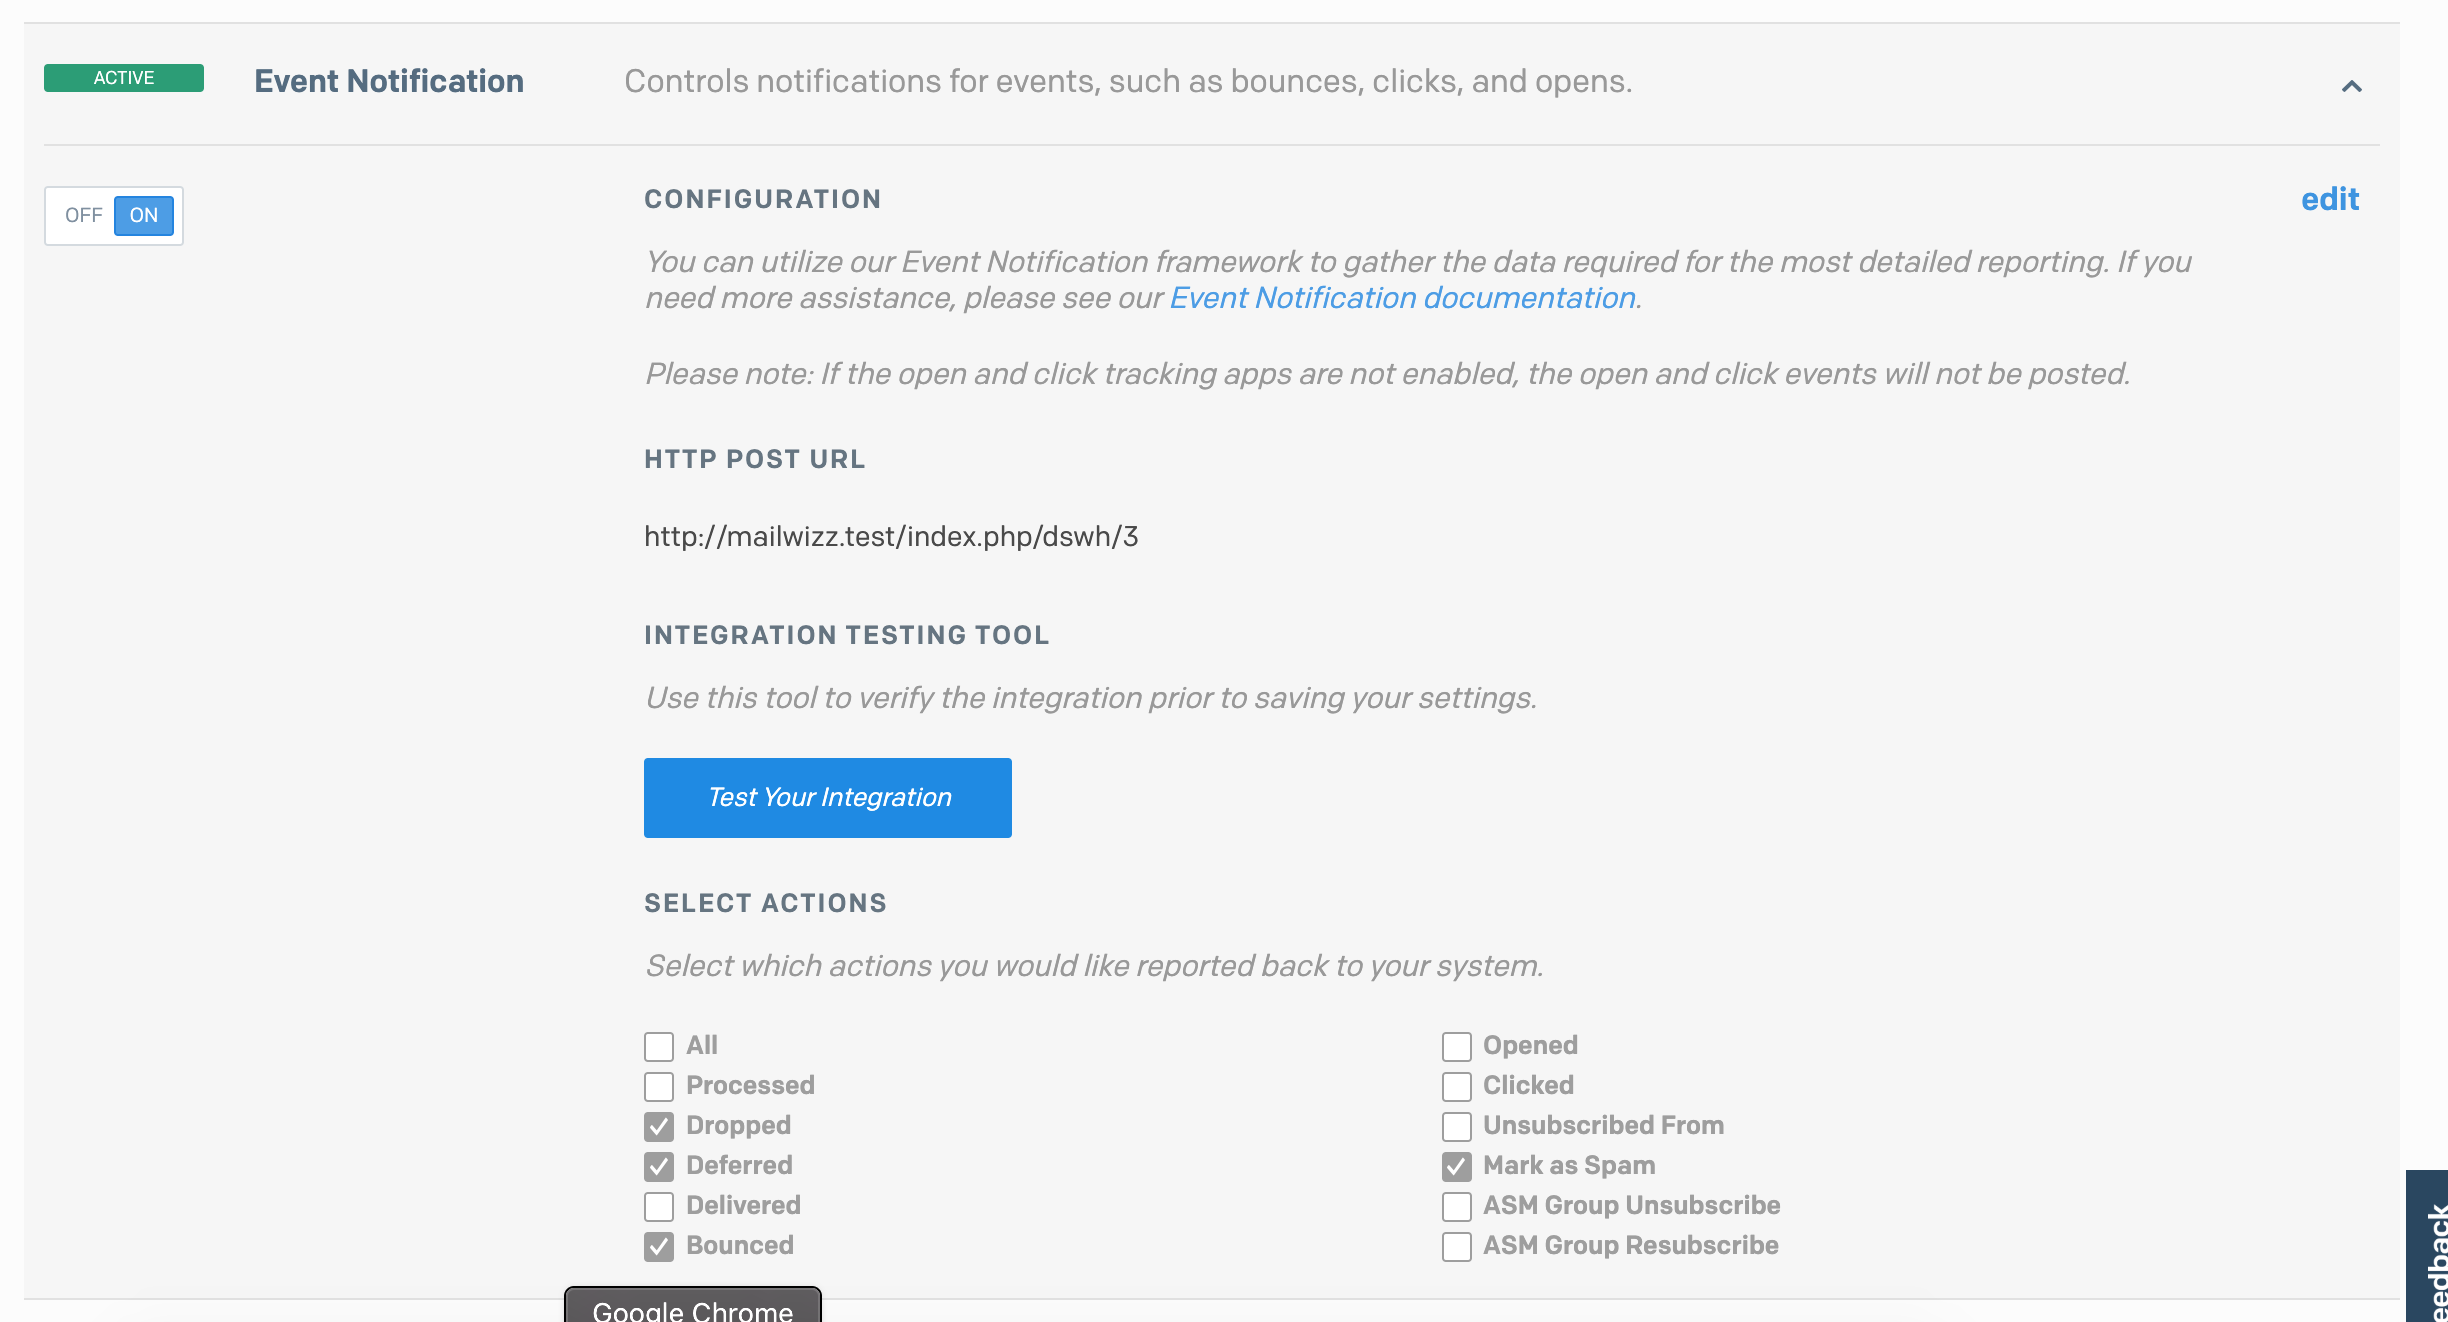
Note!
Once MailWizz successfully verifies your delivery server, it will automatically setup the Sendgrid Event Notifications.
If there are things that you need to explore further regarding Sendgrid, we encourage you to check their documentation also here: https://sendgrid.com/docs/
That’s it! You are ready to send emails.